This article demonstrates how to create an individual client record.
Clients are created for an agency to allow the capture of demographics and individual assessments.
Instructions
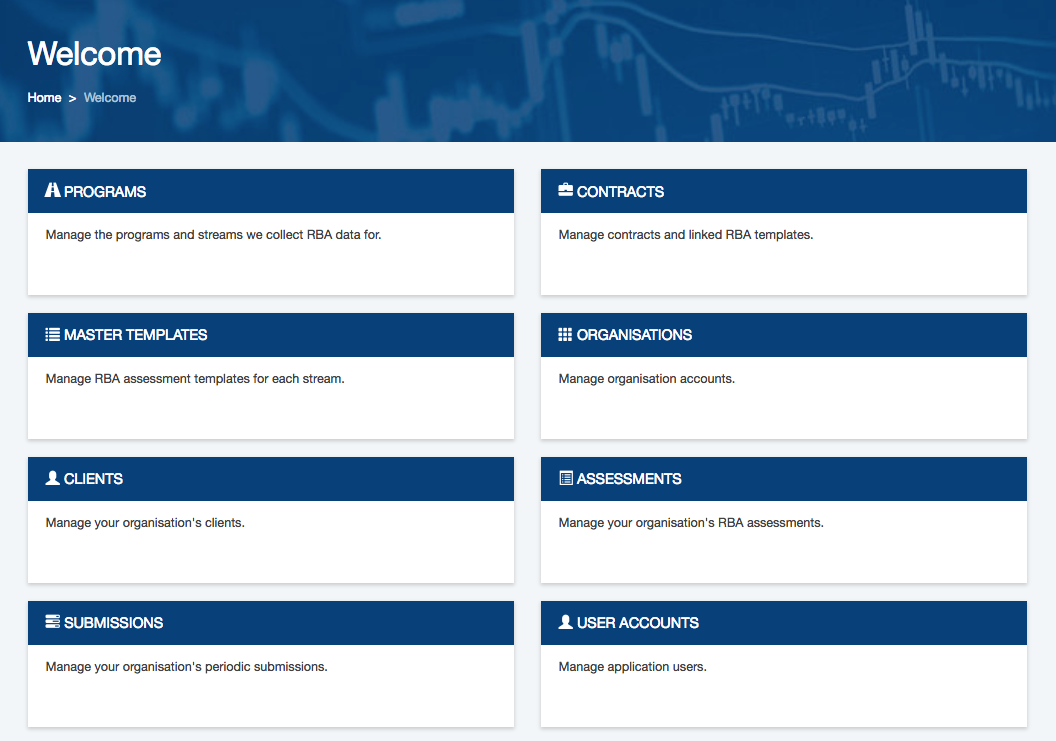
Step 1. Log into your Community CI system.
The welcome page will be displayed.
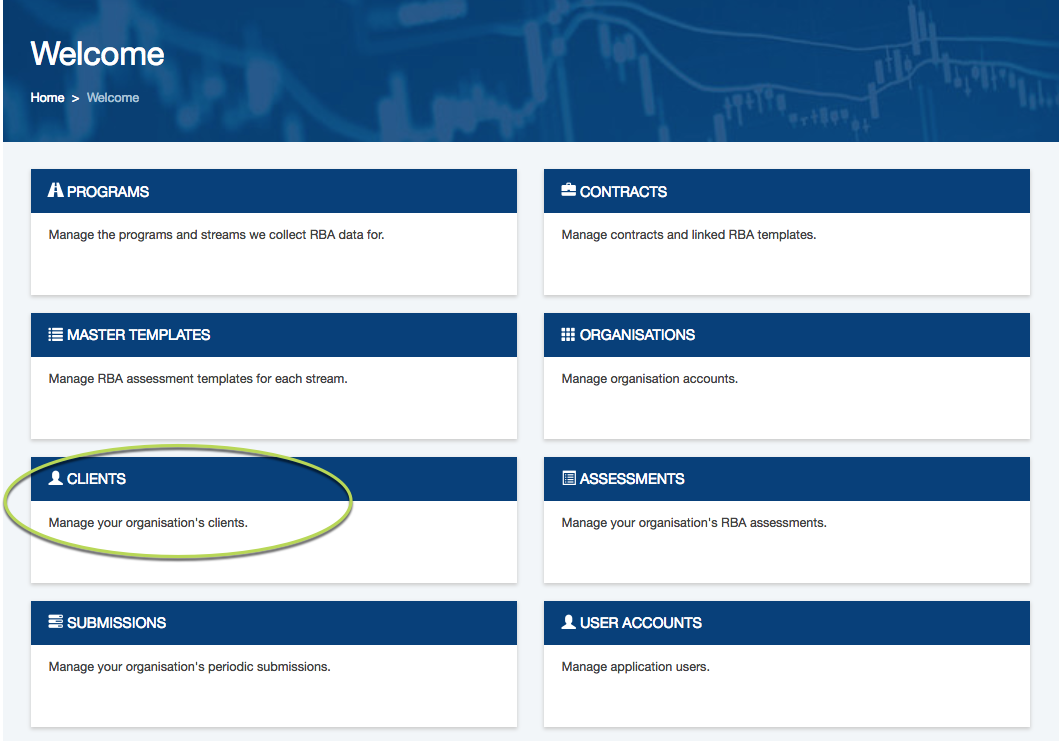
Step 2. Click on the Clients link.
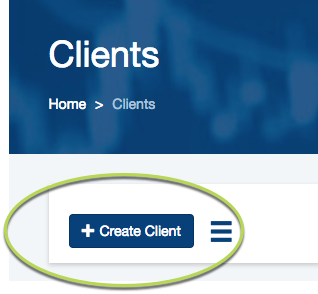
Step 3. Click the Create Client button
Step 4. Enter the required client details
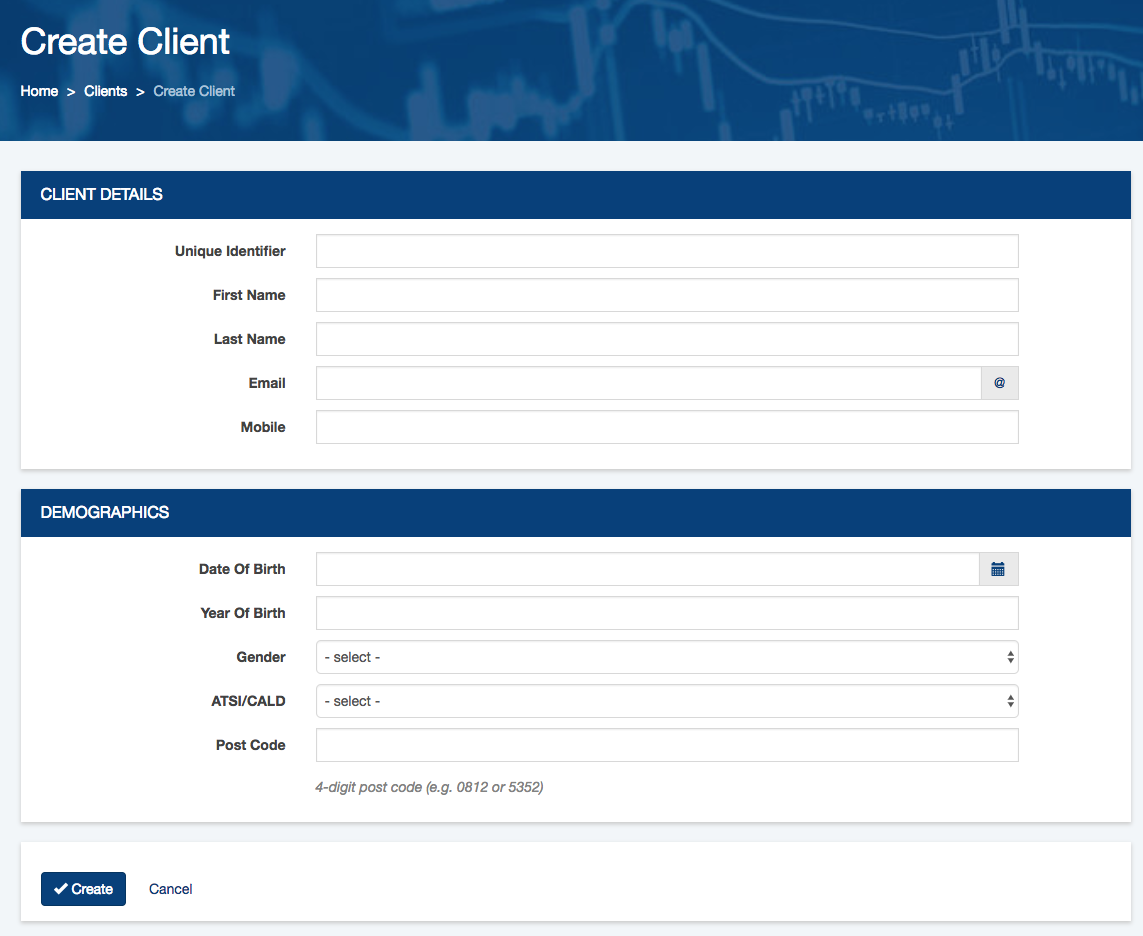
Step 5. When all information is entered, click the Create button
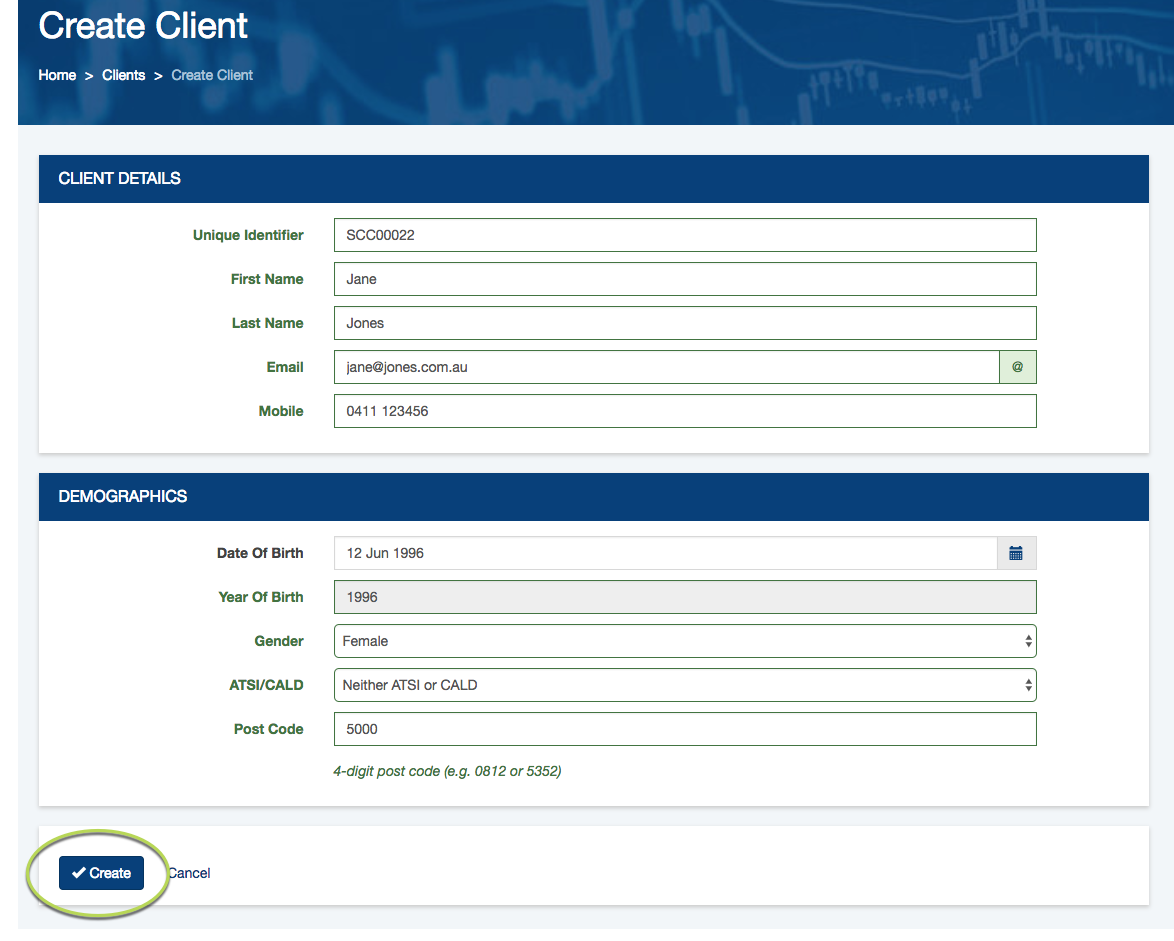
The client record is created with an inactive status.
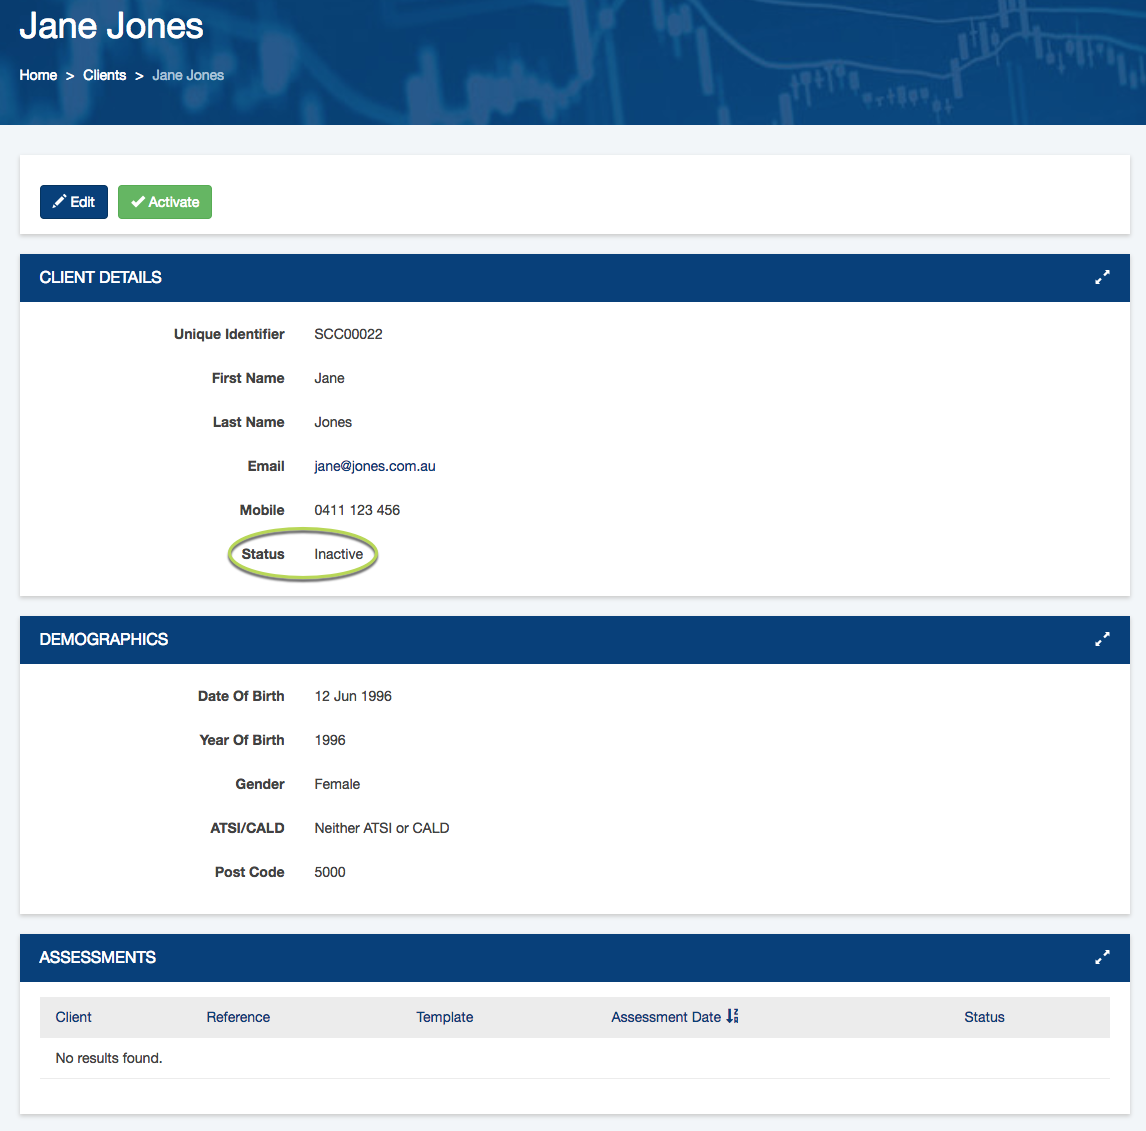
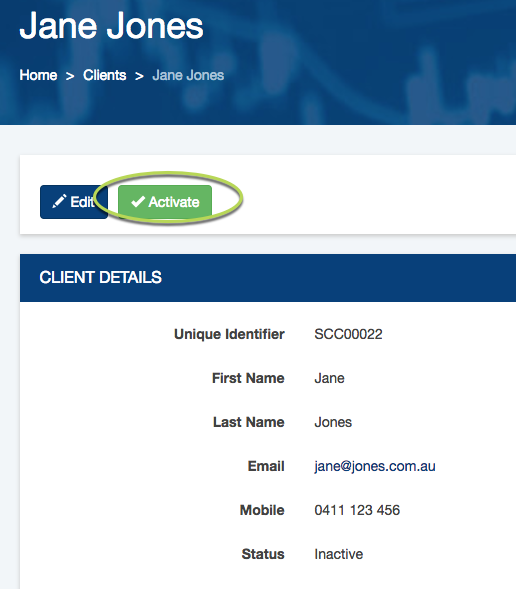
Step 6. When required, click the Activate button to activate the client
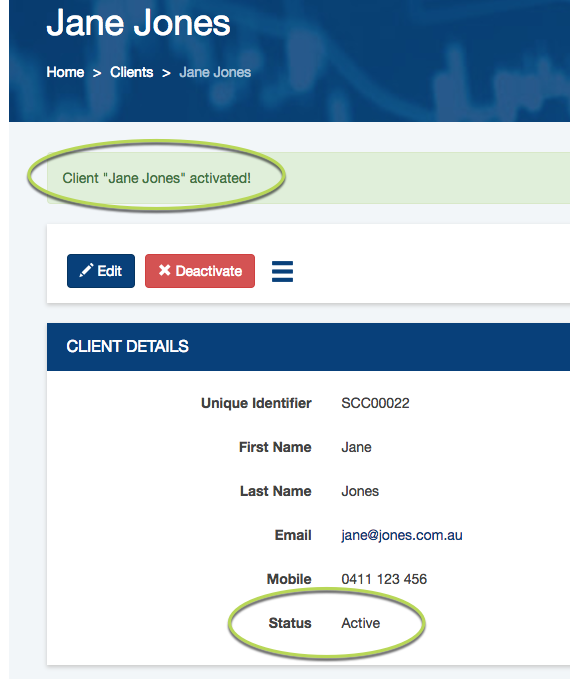
The client is activated successfully
Duplicate records
If the new client record has the same name, postcode and date of birth as another record, a duplicate error message will be displayed when you attempt to save the record.
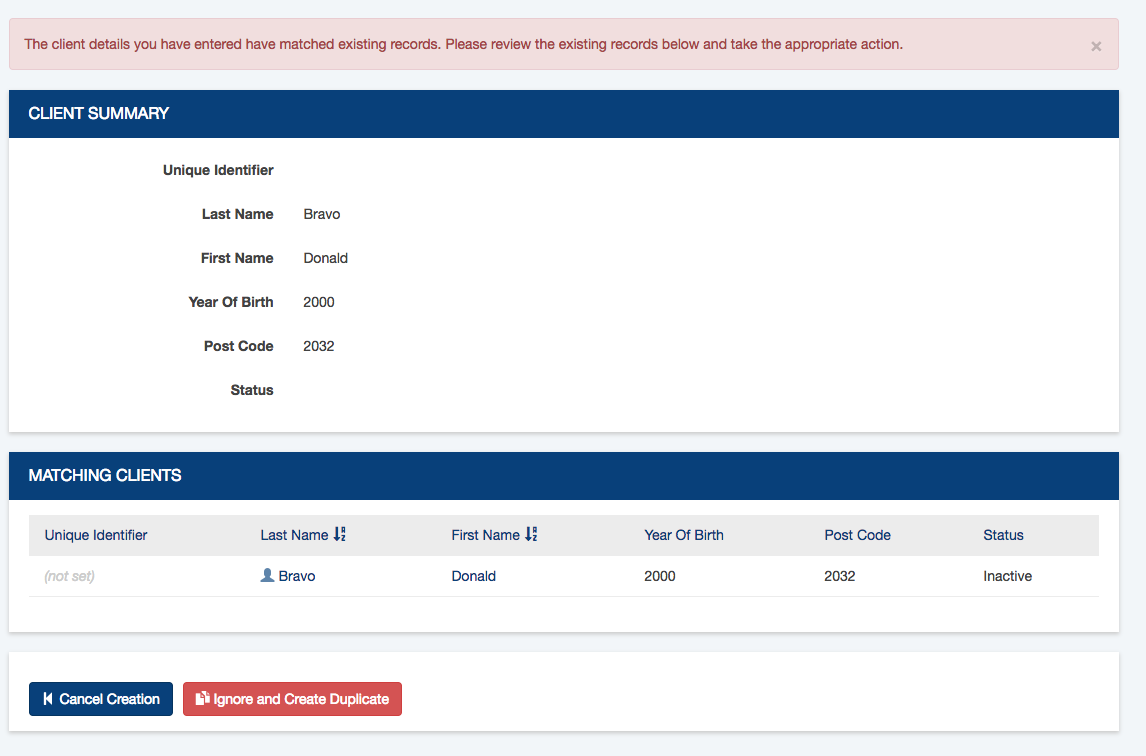
You may choose to Cancel Creation or the record or Ignore and Create Duplicate.
If the unique identifier field is used you will only receive duplicate errors if the Unique Identifier matches.