There are a number of ways to record an assessment.
If you have recorded assessment information outside of the system, without using the template file, you can still upload the data.
Instructions
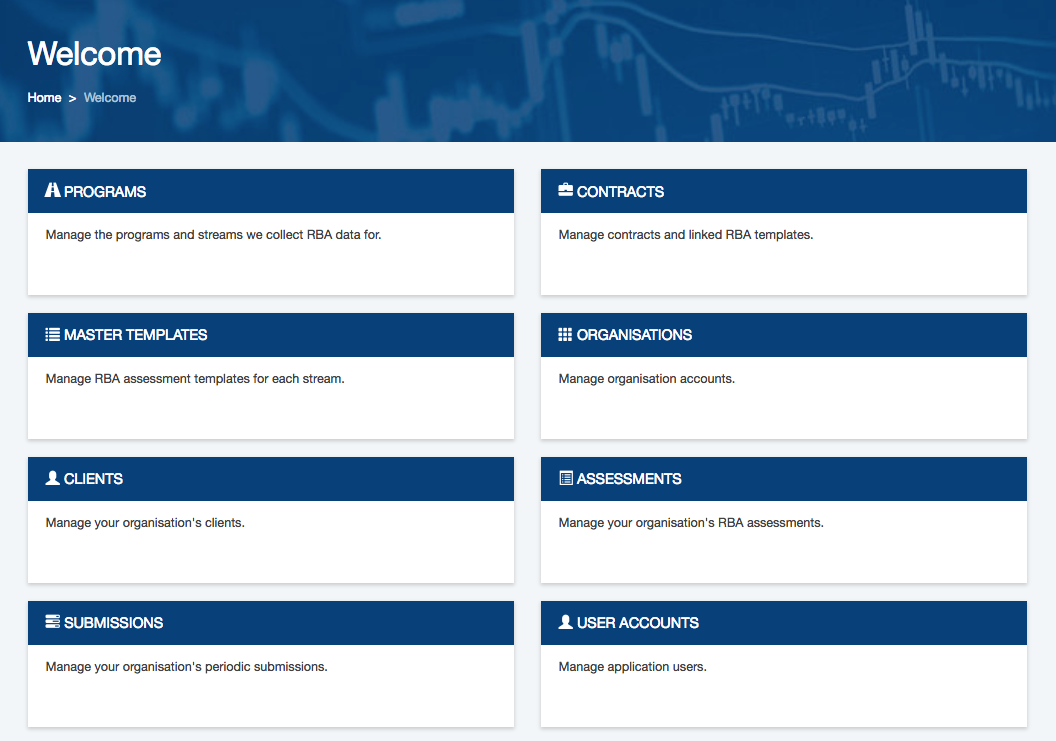
Step 1. Log into your Community CI system.
The welcome page will be displayed.
Step 2. Click on the Contracts link.
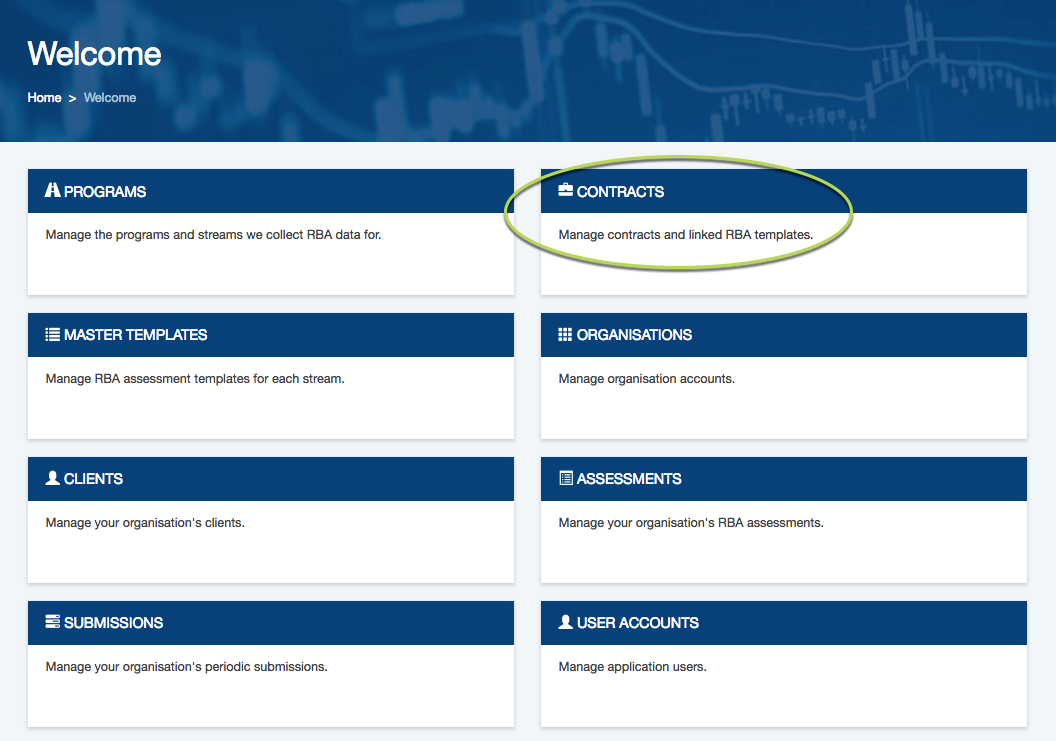
The Contracts list will be displayed
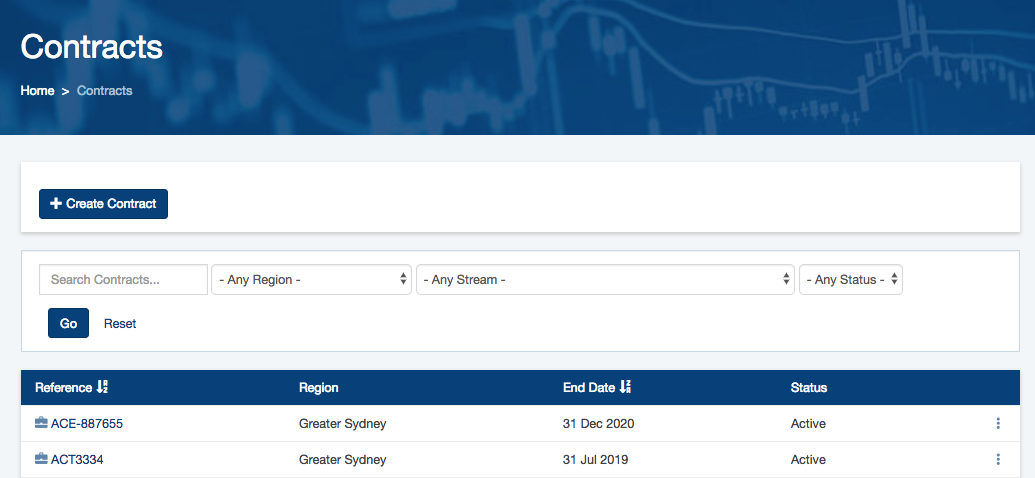
Step 3. Select the required Contract to view.
The Contract details are displayed
Step 4. Open your assessment data file.
The file must be saved in csv or xlsx format.
A header row must be created, with a header for each populated column.
This will be used when importing the file.
The following information must be included in the file.
- Unique Identifier
- A unique identifier for the client. If the client exists in your Community CI system, ensure this ID matches. if the client does not exist, it is recommended to create an ID, ensure it is not currently in use,
- The field is not mandatory, but it is recommended.
- First Name
- The first name of the client. If you do not use the Unique identifier field, this will be used to look for an existing client record.
- Last Name
- The last name of the client. If you do not use the Unique identifier field, this will be used to look for an existing client record.
- Date of Birth
- The date of birth of the client. If you do not use the Unique identifier field, this will be used to look for an existing client record.
- Year of Birth
- The year the client was born
- Gender
- The Gender of the Client.
- Accepted values are: Male, Female, Unknown, Other
- ATSI/CALD
- The ATSI/CALD information for the client
- Accepted values are: Aboriginal, Torres Strait Islander, Aboriginal and Torres Strait Islander, CALD, Neither ATSI or CALD, Unknown
- Post Code
- The current postcode of the client.
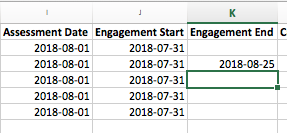
Tip: The Assessment Date, Engagement Start, and Engagement
End dates must be in the format YYYY-MM-DD
- Assessment Date
- Enter the date the assessment was recorded
- This date must fall within the valid dates for the template
- Engagement Start
- Enter the date the engagement started with the client for this contract
- This date must be before or on the assessment date
- Engagement End
- Enter the engagement end date (if applicable)
- Case ID
- Enter the Case ID for the client
- This must be an integer
- Session ID
- Enter the Session ID for the client
- This must be an integer
- Assessment Phase
- The Assessment Phase of this record
- Accepted Values are: Pre-Session Assessment, Post-Session Assessment
- Responses
- The responses will vary dependent on the assessment template being used.
- Ensure the provided options match one of those listed in the template.
- At least one answer must be provided and all mandatory questions must be answered.
Step 5. Save the file to your computer as csv or xlsx.
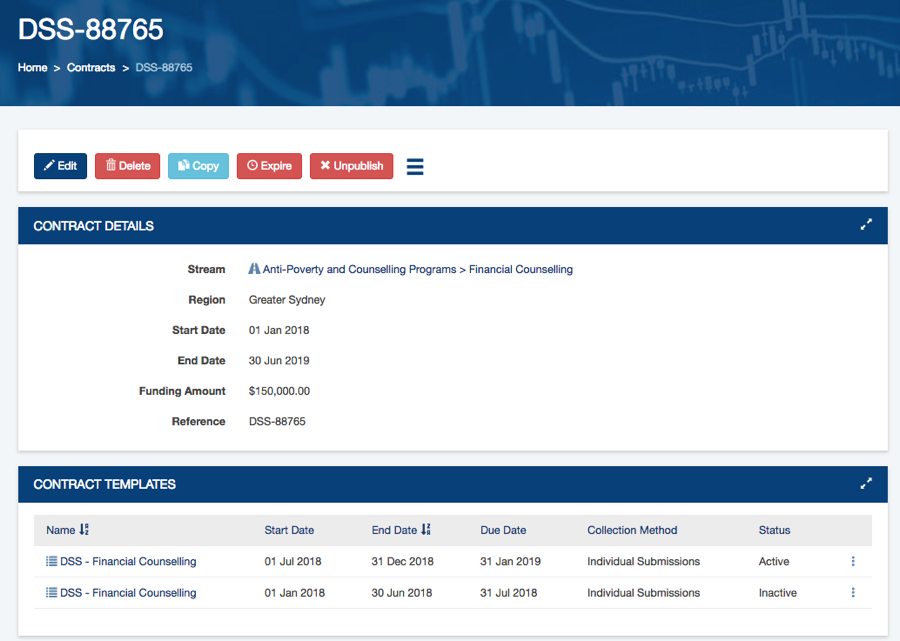
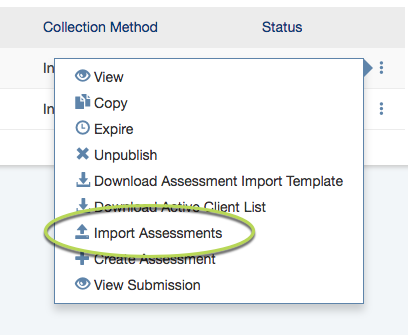
Step 6. Click the three dots on the right-hand side of the Contract and select Import Assessments.
The Import page is displayed
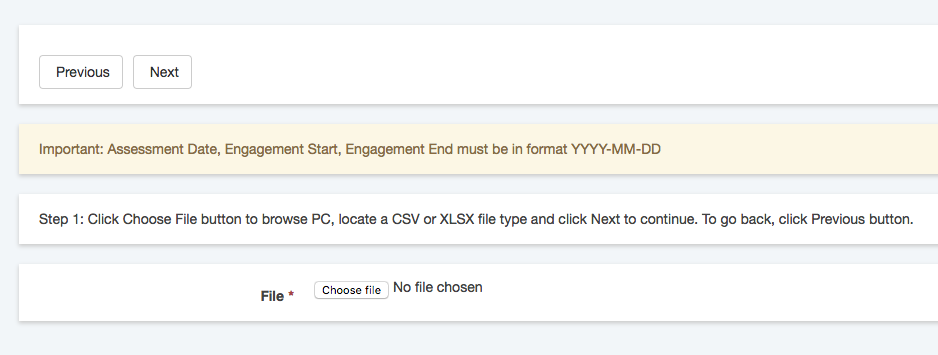
Step 7. Click Choose file
Step 8. Select your saved spreadsheet
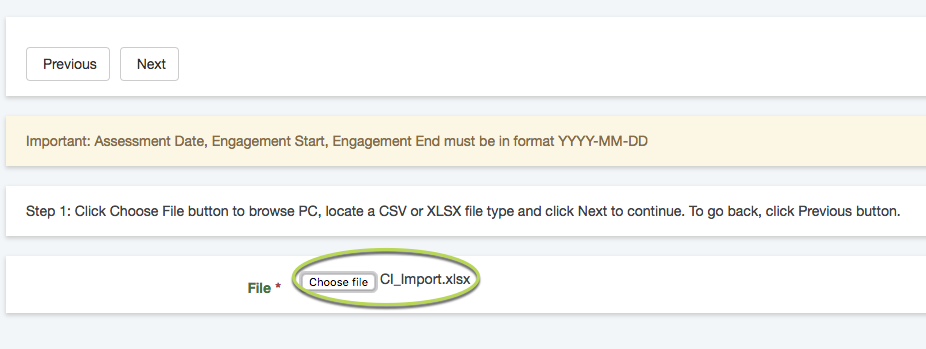
Step 9. Click Next
Step 10. The column matching page is displayed
You will need to select the correct header to match the required fields.

If you use the same header labels as the system fields, the columns will be matched automatically.
In the image above, First Name is matched to First Name.
If your header labels are different, you will need to select the field to update.
In the image above, ID is not matched.
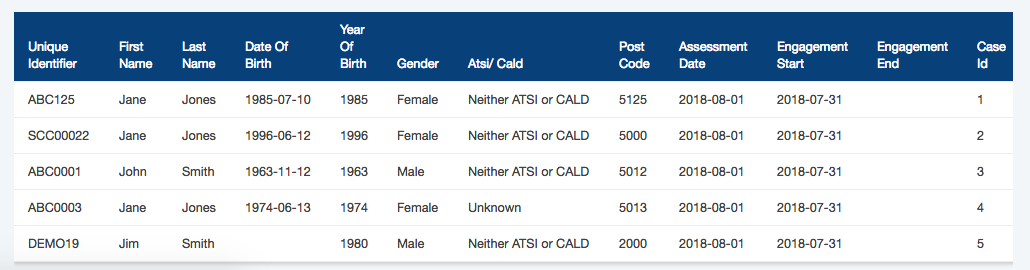
Tip: The headers and data are displayed at the bottom of the
page. If you aren't sure what information is in a column,
refer to this information.
Step 11. Click on the drop down beneath a column to be matched
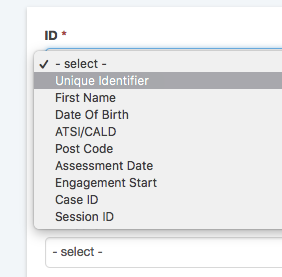
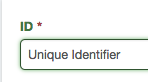
Select the appropriate field. In this case, ID is Unique Identifier.
The selected field is displayed.
Step 12. Repeat matching for each required field.
Tip: As the fields are selected the available list is reduced.
Each field can only be matched once.
Step 13. Once all fields are matched Scroll to the bottom of the page.
The assessment details to be entered are displayed
Step 14. Click Next at the top of the page
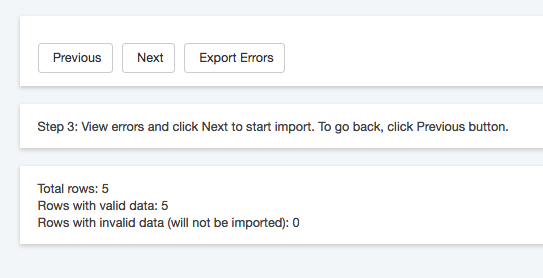
Your data will be processed and validated.
Any errors found will be listed and an error file created.
For information on errors received, refer to the articles at the end of this page.
Step 15. Click Next
Click OK on the confirmation message
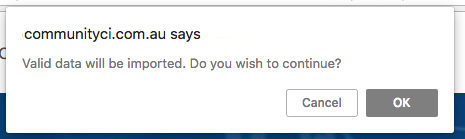
Your data will be imported.
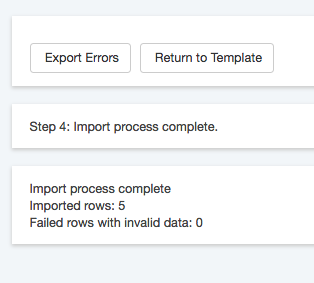
The assessment data is imported into the system. The status is set to Completed.
Further Information
- Create an Assessment – from Client
- Create an Assessment – from Contract
- Create an Assessment – from Assessments
- Assessments – Bulk Import Errors