Assessments entered directly in the system begin with a Draft Status.
Once the entry has been entered correctly and is ready for submission, it must first be marked as complete.
Assessments entered using the bulk import feature are automatically marked complete.
Instructions
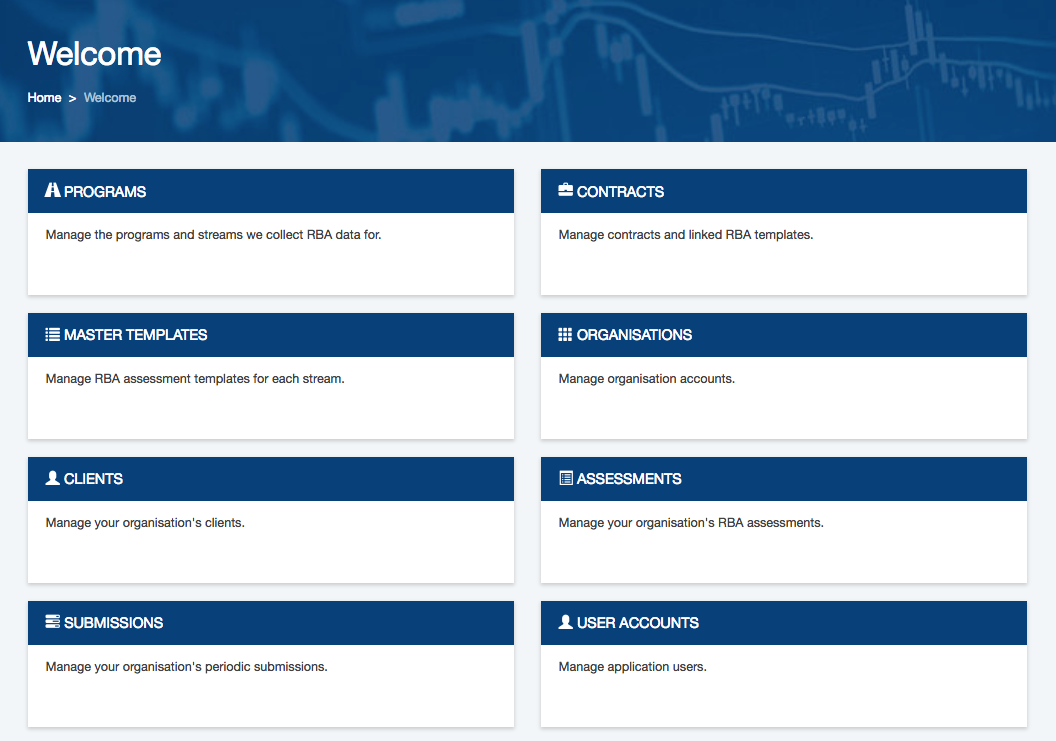
Step 1. Log into your Community CI system.
The welcome page will be displayed.
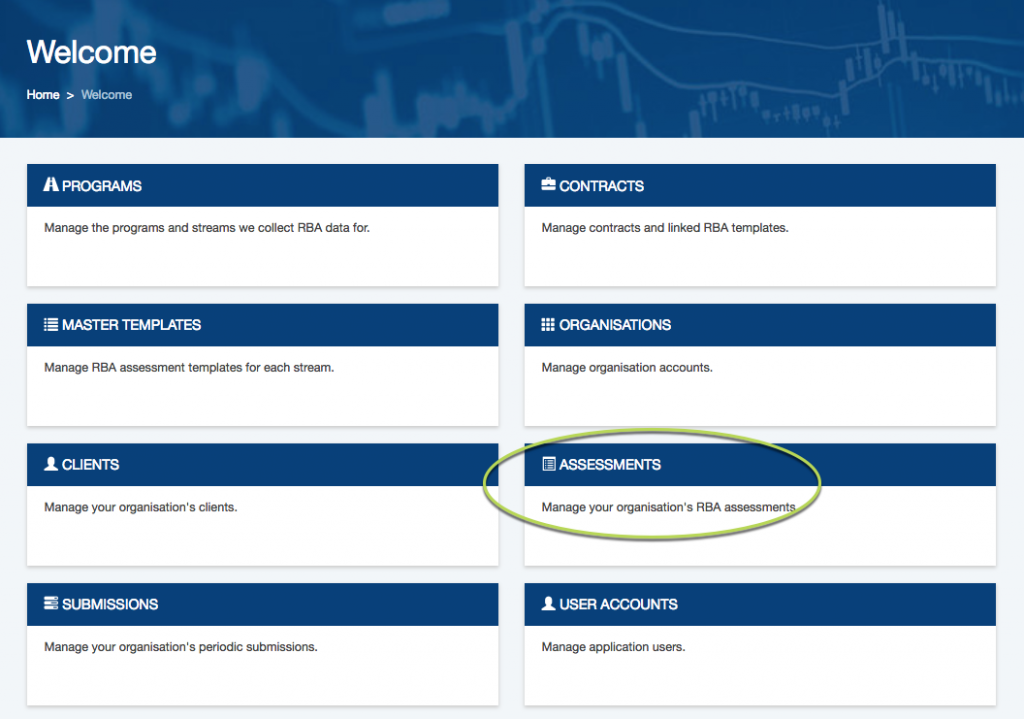
Step 2. Click on the Assessments link.
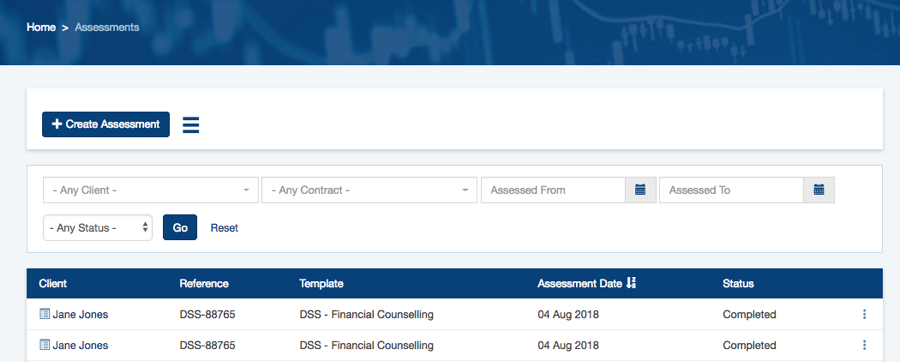
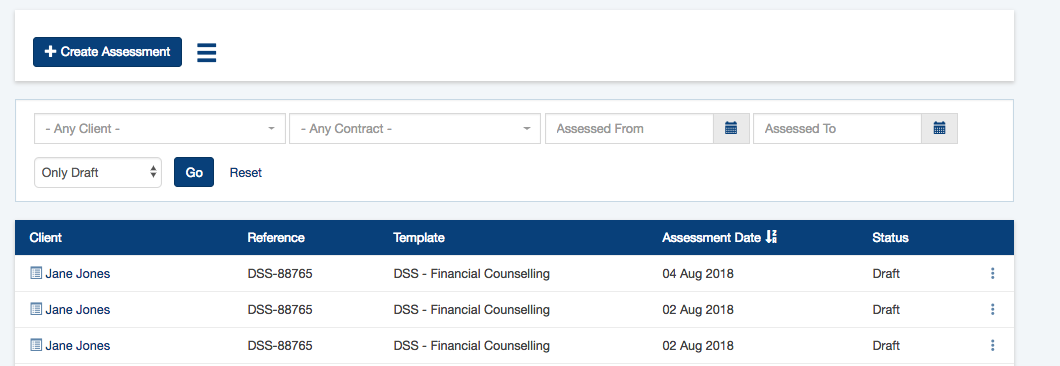
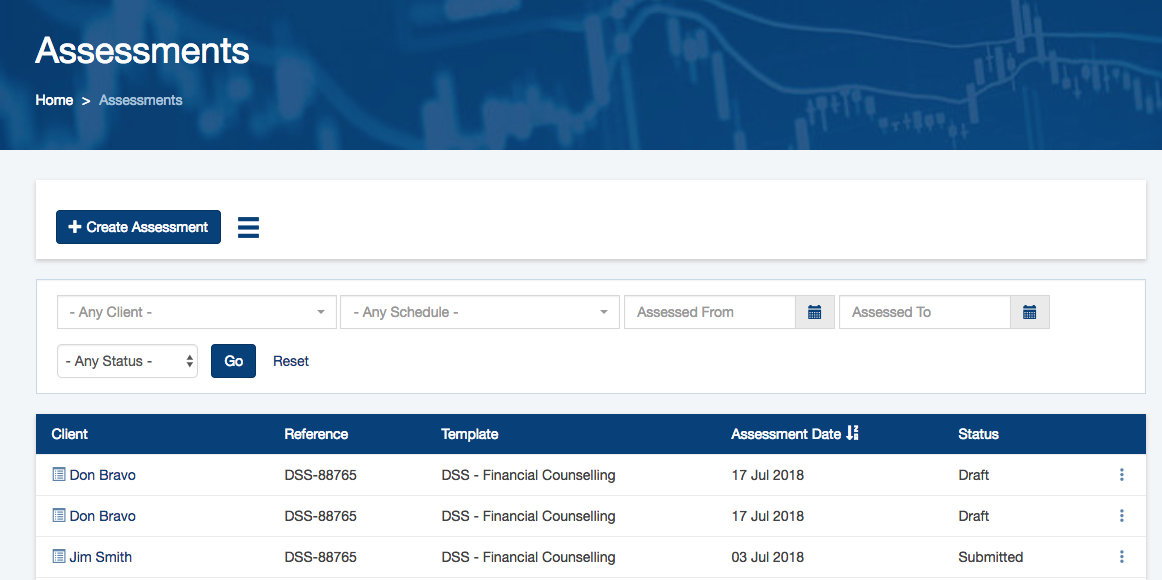
The Assessments list will be displayed
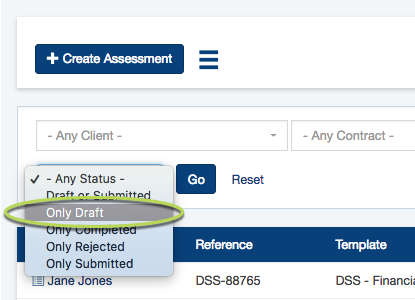
Step 3. In the Status search field, select Only Draft
Step 4. if required, in the Contract field, enter details of the required contract
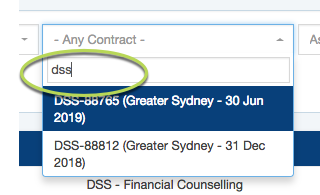
Step 5. Click Go
The assessments in draft for the selected contract are displayed
Step 6. Click on the assessment to view the details and ensure they are correct and complete.
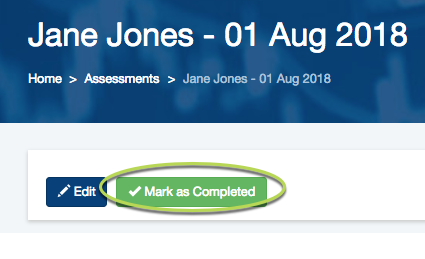
Step 7. Once complete, click the Mark as Completed button at the top of the page.
If there are any issues with the assessment, an error will appear in red at the top of the page.

Step 8. Click Edit to resolve any issues.
Step 9. Save the changes.
Step 10. Click the Mark as Completed button at the top of the page.
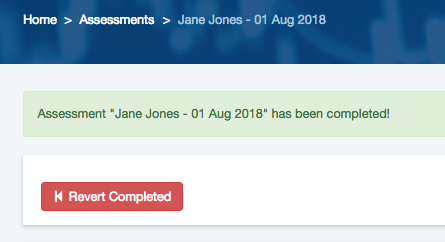
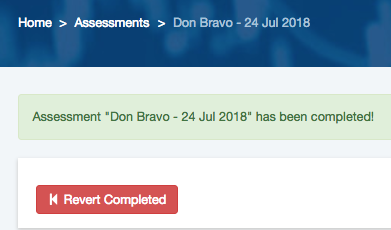
A completion confirmation message will be displayed.
You may also choose to mark an assessment as completed from the assessments list.
Step 1. Click the three dots to the right of the required assessment.

Step 2. Click Mark as Completed
If there are any issues with the assessment, an error will appear in red at the top of the page.

Step 3. Click Edit to resolve any issues.
Step 4. Save the changes.
Step 5. Click the Mark as Completed button at the top of the page.
A completion confirmation message will be displayed.
The required assessments are complete.
Further Information
- Can I edit a Completed Assessment?
- Revert a completed Assessment
- Create an Assessment – from Client
- Import Multiple Assessments